springboot 与 freemark 模板
springboot 与 freemark 模板
一. 简述
Freemarker 是一个热门的 MVC 模板引擎,拥有跟 jsp 一样的一些指令标签,广受大众的热爱。 我没真正使用过 Freemarker ,在即将投入使用的项目中,因为一个偶然的想法(动静分离)而彻底放弃了 MVC 思想,改用了前端的 MVVM 框架,配合 JSON 数据格式。
二. 开发
1. MVN 的依赖
1 | <dependencies> |
其实我感觉这是我写过的最简单的 Spring-Boot 教程了,全程不需要任何的自定义配置,只要引入依赖的包即可投入使用。
2. 控制器
1 |
|
3. 编写 ftl 和 静态文件
需要注意两个路径,都在 resources 文件夹下:
-
templates用于存放模板文件 -
static用于存放静态资源,如:jscsshtml
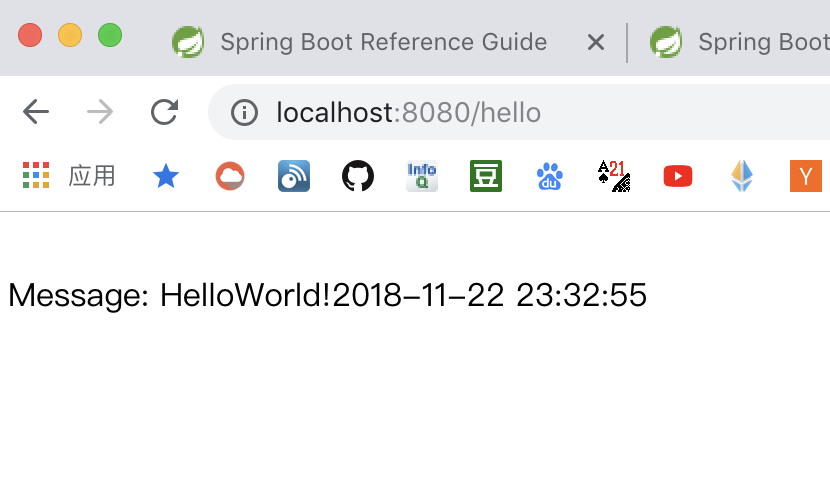
templates 下的 ftl :
1 | <!DOCTYPE html> |
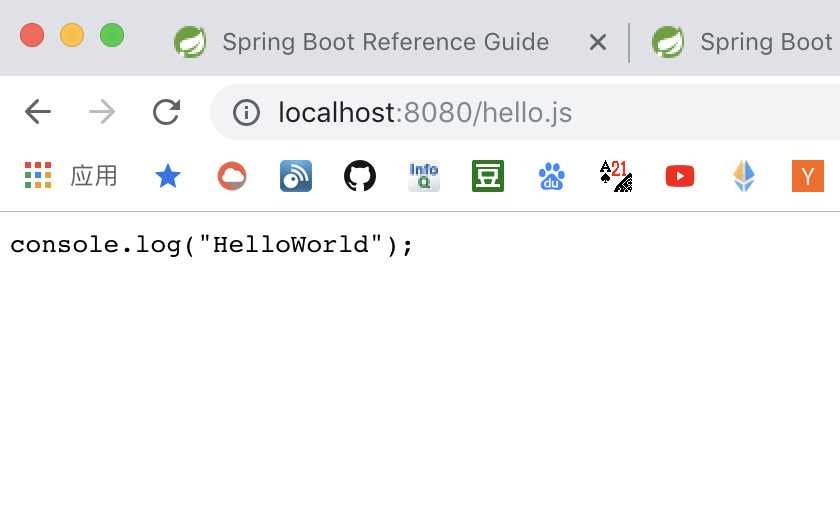
static 下的 js :
1 | console.log("HelloWorld") |
4. 请求 http://localhost:8080/hello 以及 http://localhost:8080/hello.js